 ReST (Representational State Transfer) is an often used technique in distributed environments to simplify the data exchange between devices. It is used in web-services and is one possibility to achieve M2M (Machine-to-Machine) communication.
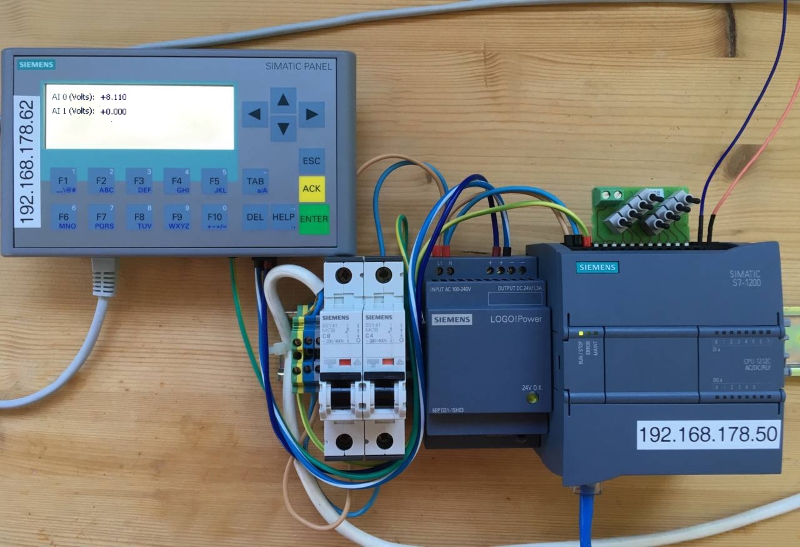
The Siemens Simatic S7-1200 PLC comes with an integrated web server which just needs to be activated for the specific project. Therefore, the access to variables and tags inside the PLC is not limited to the S7-1200 native web frontend, it is also possible to develop user-defined pages (or rather web apps) using JavaScript and HTML. With a bit of fortunes it can easily be achieved to "configure" the integrated web server to respond with a JSON or XML (or any other text based format) to a http/s request. The client which requests data from the S7 web-API can be a web app running on the S7 written in JavaScript but can also be any other client. In this case I will introduce a client written in Python using the requests library (and Tkinter to display a GUI).
The S7 Web Server & user-defined pages
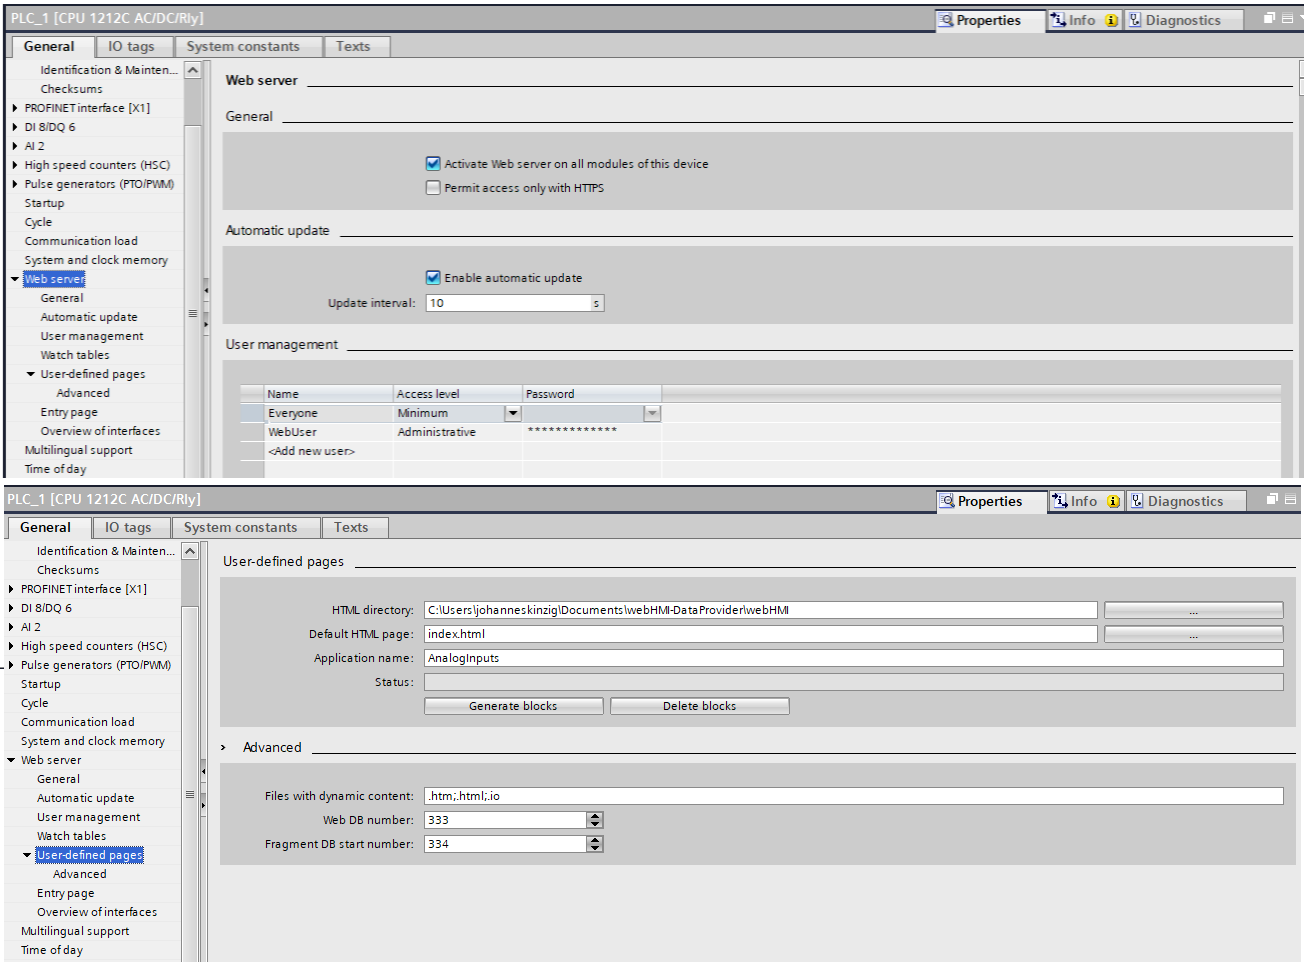 The web server can easily be configured in Step 7, by enabling it and adding "user-defined pages". Activating the user-defined pages inside the user program is done by moving the "WWW" data block from the "Instructions" side-pane into the current program block (TIA Portal).
The "user-defined pages" are simple HTML files (can also contain JavaScript, CSS, linking to other files, etc.) which contain specific tags (called awp-commands) which correspond to PLC-internal data-blocks.
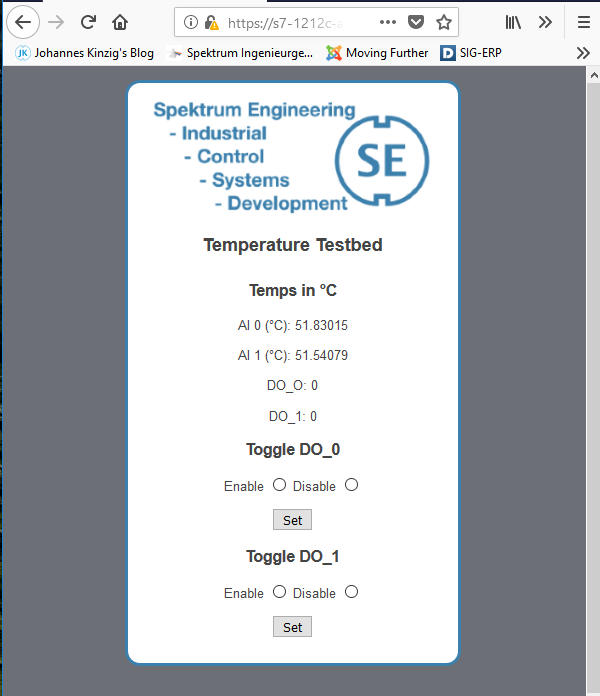
The following code snipped shows a simple user-defined page, which displays two temperature values and the current states of digital output 0 and digital output 1:
- The first two lines are samples for awp-commands and tell the web server that these tags can be written by the user-defined application (through a http/s post, using a form or another client)
- :="webHMIData".webHMI_AI0_TempCels: is a tag name inside the PLC, and will be replaced by the web server with the current value when the HTML is rendered (requested by the client)
- The form "posts" data to the web server to change the tags' values
<!-- AWP_In_Variable Name='"webHMIData".webHMI_DO0_User' -->
<!-- AWP_In_Variable Name='"webHMIData".webHMI_DO1_User' -->
<!DOCTYPE html>
<html lang="en">
    <head>
	    <link rel="stylesheet" type="text/css" href="/style.css">
        <meta charset="utf-8">
        <title>My Siemens S7-1212 Temperature Testbed</title>
    </head>
    <body>
	<div id="container">

    <div class="info">
        <img src="/logo.png" alt="Spektrum Logo">
        <p><h2>Temperature Testbed</h2></p>
    </div>
    <h3>Temps in °C</h3>
	<p>AI 0 (°C): :="webHMIData".webHMI_AI0_TempCels:</p>
	<p>AI 1 (°C): :="webHMIData".webHMI_AI1_TempCels:</p>
	<p>DO_O: :="webHMIData".webHMI_DO0_User:</p>
	<p>DO_1: :="webHMIData".webHMI_DO1_User:</p>
	<h3>Toggle DO_0</h3>
	<form method="post">
			<p><label for="en">Enable</label>
			<input type="radio" id="en" name='"webHMIData".webHMI_DO0_User' value="true">
			<label for="ds">Disable</label>
			<input type="radio" id="ds" name='"webHMIData".webHMI_DO0_User' value="false"></p>
			<p><button type="submit">Set</button></p>
     </form>
	 <h3>Toggle DO_1</h3>
	<form method="post">
			<p><label for="en">Enable</label>
			<input type="radio" id="en" name='"webHMIData".webHMI_DO1_User' value="true">
			<label for="ds">Disable</label>
			<input type="radio" id="ds" name='"webHMIData".webHMI_DO1_User' value="false"></p>
			<p><button type="submit">Set</button></p>
     </form>
	 </div>
    </body>
</html>
 Designing the ReST API
Now the idea becomes clear: the web server renders the HTML file and replaces the tags with their values. The ReST interface can be designed by omitting HTML syntax and instead using "JSON syntax" (or XML, etc.). The same applies, tag names will be replaced by their current values.
To distinguish between user-defined pages/apps (HTML files) and the API-interface, I decided to not indicate these "JSON" files as HTML files, instead I configured the TIA Portal and the files to be of the file type ".io" (can be seen in the picture above, the TIA Portal allows to define "Files with dynamic content").
In this case I have designed a simple API which responses with a JSON string containing four values:
- DO0 : status of the digital output 0
- DO1 : status of the digital output 1
- temp0 : temperature measured at the analogue input 0 (voltage was converted to temperature in the PLC's user program)
- temp1 : temperature measured at the analogue input 0 (voltage was converted to temperature in the PLC's user program)
In addition to just read these values, I wanted to be able to change DO0 and DO1 using a http post. The following file (api.io) represents my API and allows reading and writing:
<!-- AWP_In_Variable Name='"webHMIData".webHMI_DO0_User' -->
<!-- AWP_In_Variable Name='"webHMIData".webHMI_DO1_User' -->
{ "DO0"::="webHMIData".webHMI_DO0_User:, "DO1"::="webHMIData".webHMI_DO1_User:, "temp0"::="webHMIData".webHMI_AI0_TempCels:, "temp1"::="webHMIData".webHMI_AI1_TempCels: }
Again, the first two lines allow to change the tags using a http post and the third line is the JSON string which will be returned when the client requests data (can be accessed using a web browser, as shown in the picture below). 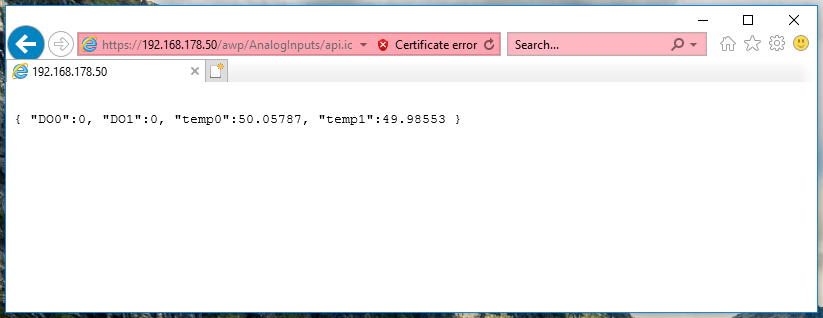
A Python Client for the API
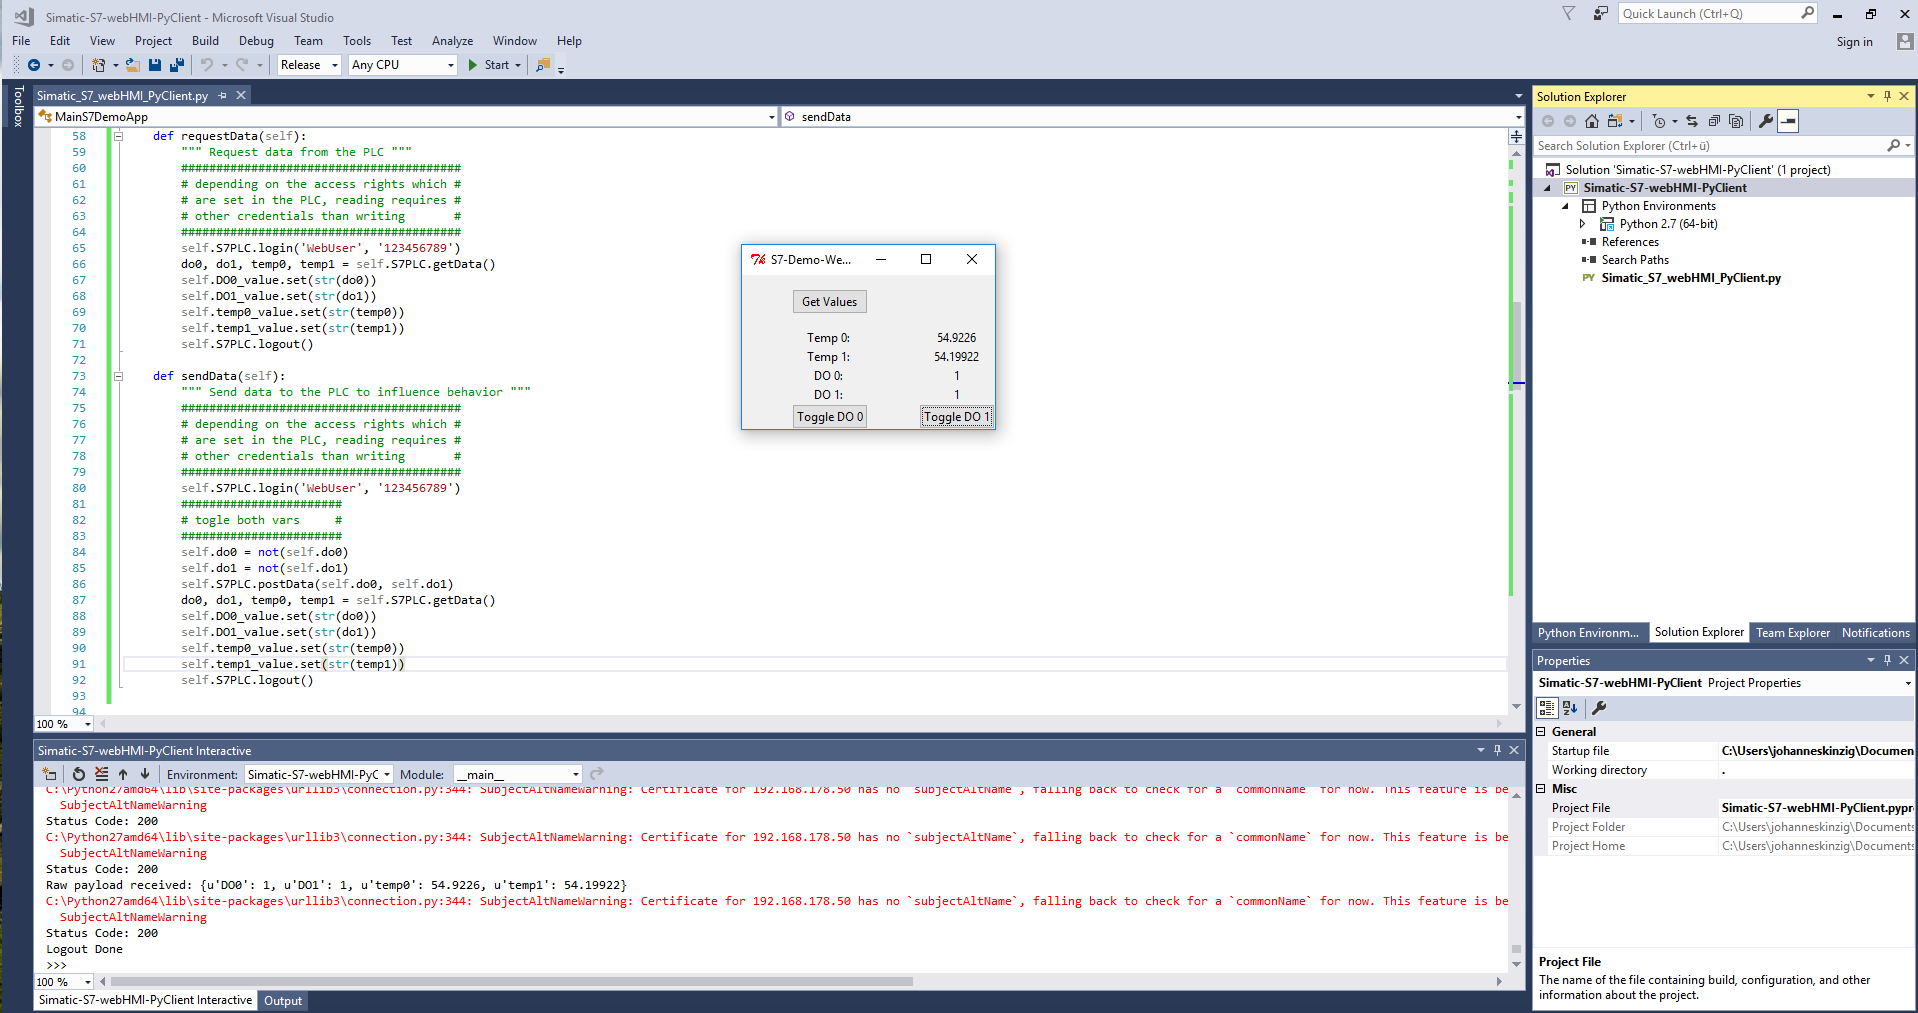
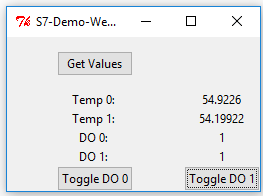
Now, that the API is defined properly, it is time to access the data which is provided. Using a web application as shown above is one option, using a client written in Python is another option and will be discussed here.
Reading data from the API (assuming no access-protection is configured in the PLC)
Just calling the API http://192.168.178.50/awp/AnalogInputs/api.io and the requested data will be returned as a JSON string. The following code shows how to read and parse the data using python requests and the python json library.
import requests
import json

def getData(url_api, s7certfile):
        """ Request data from the PLC (states, variables, values, etc.) """
        session = requests.Session()
        payload = session.get(url_api, verify=s7certfile)
        print("Status Code: " + str(payload.status_code))
        content_json = json.loads(payload.text)
        print("Raw payload received: " + str(content_json))
        return content_json['DO0'], content_json['DO1'], content_json['temp0'], content_json['temp1']

print(getData('https://192.168.178.50/awp/AnalogInputs/api.io', 's71212cert.crt'))
Generally, in critical environments it is necessary to access the resources via HTTPS to ensure data encryption and data integrity. Therefore s7certfile is important to be set, this ensures to connect to the requested PLC and not to an eavesdropper or man-in-the-middle. The certificate (public key) can be downloaded from the S7 or can be extracted from the browser, once it accessed the PLC over HTTPS and added the certificate exception for unknown CA's. When exporting the certificate from Firefox (e.g.) it is important to include the CA's (see picture below), otherwise session.get() will reject the certificate. 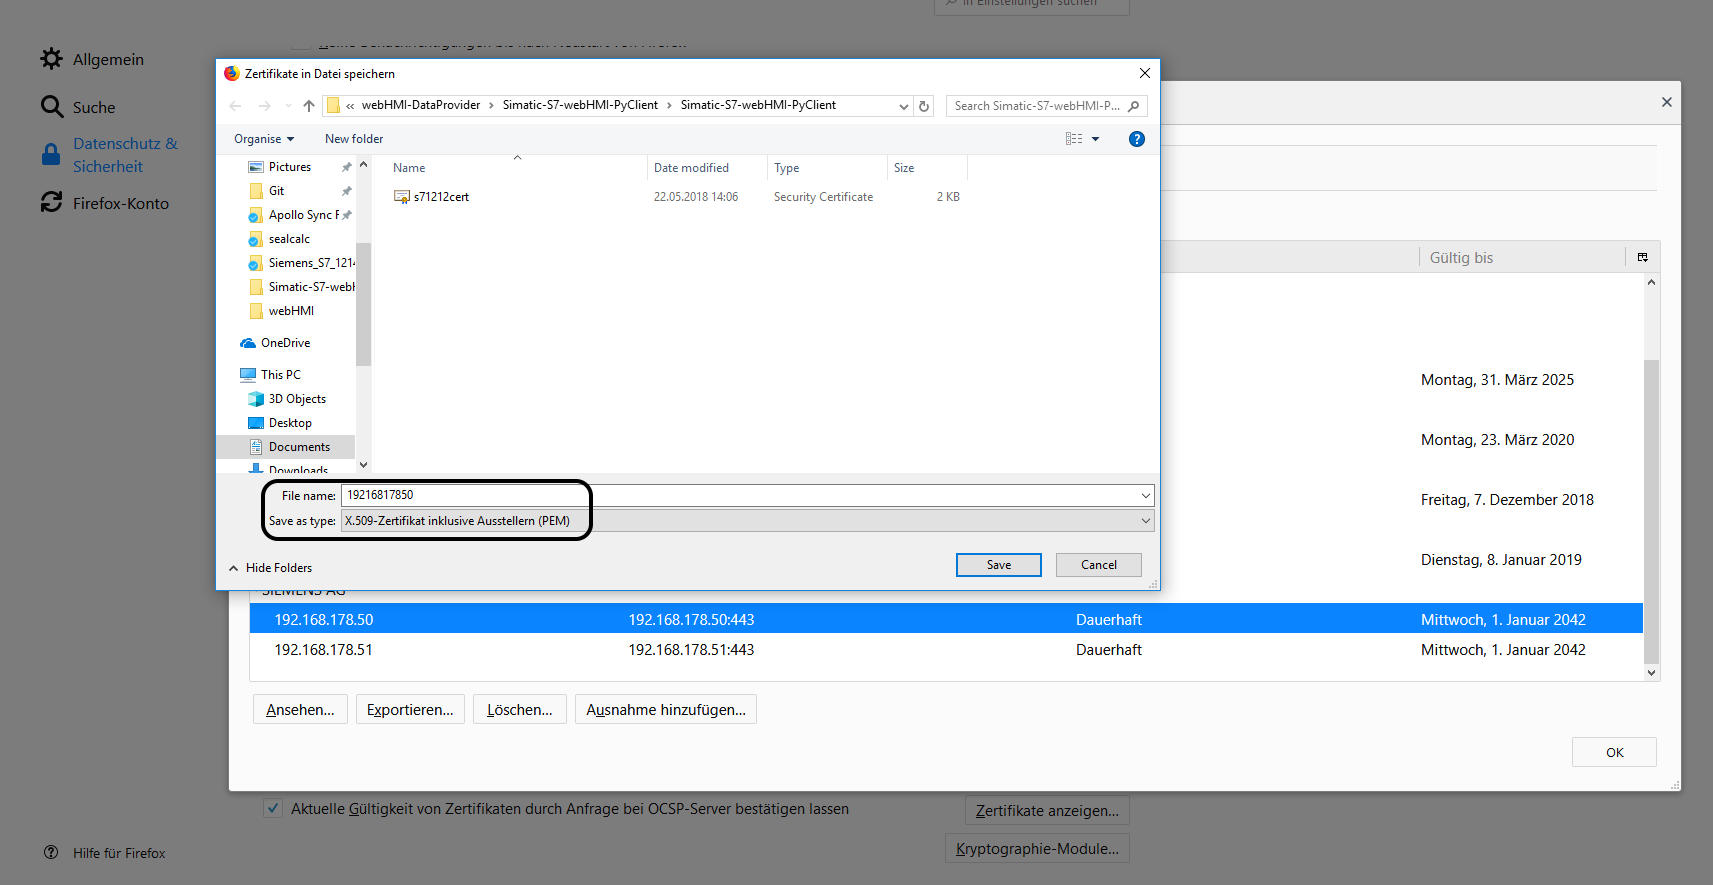
Writing data - modifying tag values (assuming no access-protection is configured in the PLC)
Writing data to the API/PLC (api.io) works the same way, instead of using session.get(), session.post() will be used. As an extra parameter, a json string will be passed, containing the payload (tag name and desired tag value).
import requests
def postData(url_api, s7certfile, do0, do1):
""" Influence PLC variables and states """
session = requests.Session()
payload = {'"webHMIData".webHMI_DO0_User': str(do0).lower(), '"webHMIData".webHMI_DO1_User': str(do1).lower()}
action = session.post(url_api, data=payload, verify=s7certfile)
return("Status Code: " + str(action.status_code))
############
# Set D0, D1 #
############
postData('https://192.168.178.50/awp/AnalogInputs/api.io', 's71212cert.crt', True, True)
##############
# Reset D0, D1 #
##############
postData('https://192.168.178.50/awp/AnalogInputs/api.io', 's71212cert.crt', False, False)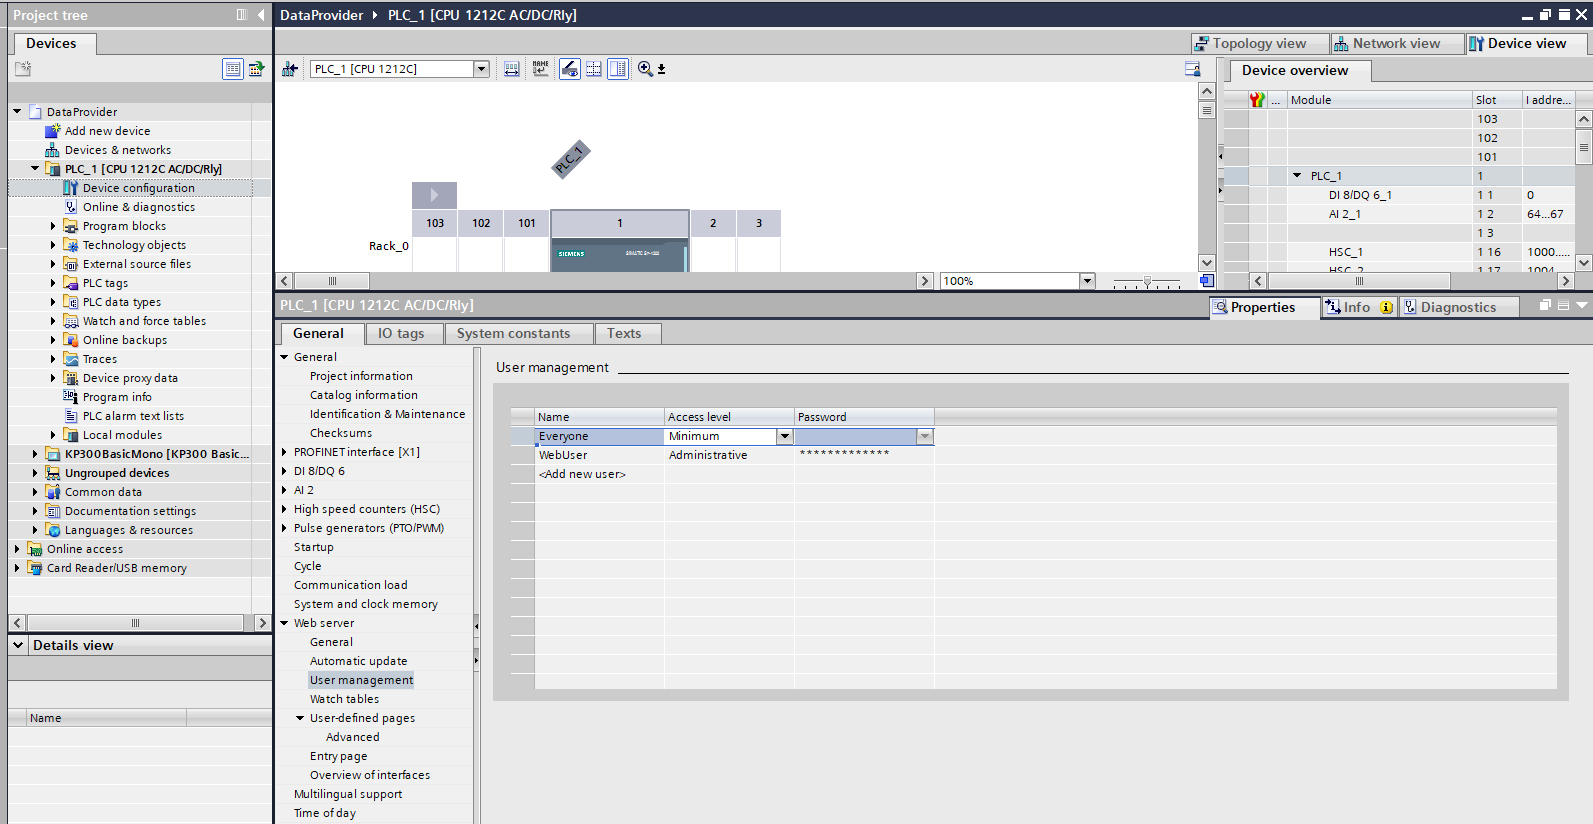 Security and Access Protection
The procedure shown above works fine when no access protection for the web server is configured in the PLC. This should not be the case for productive environments, there users and groups with eligible access rights should be defined.
When access restrictions and user-privileges are configured properly, the user-defined pages hide behind a login form, which will automatically be displayed when accessing the PLC using HTTP/HTTPS. This means, that the previous designed web API will not be accessible, as well. Hence, an authentication identifier needs to be passed together with either the session.get() or the session.post() method. Details about this, can be read in the next article: Logging into Simatic S7-1200 web API using a python client (Part 2)
Project Files & Download
The whole project webHMI-DataProvider can be downloaded here, it contains:
- DataProvider : Step 7 TIA V14 Project for the Simatic S7-1212C AC/DCRly implementing the above introduced API
- PythonS7FormLoginSample : Python sample code which demonstrates how to login through the web form displayed on the S7 welcome page using python requests
- Simatic-S7-webHMI-PyClient : Sample application (Visual Studio 2017 project, Python Tkinter) demonstrating how to login on the S7 and read & modify tags through the above introduced/implemented API
- webHMI : HTML, CSS and api.io files where the above introduced web application and API consist off
- The web server and project is access protected username and password required
- Username: WebUser
- Password (also valid for Step 7 TIA Project): 123456789
Siemens Simatic S7 Web Apps and API
| Title | Size | Download |
|---|---|---|
| 7z webHMI-DataProvider | 31.25 MB | Download |
